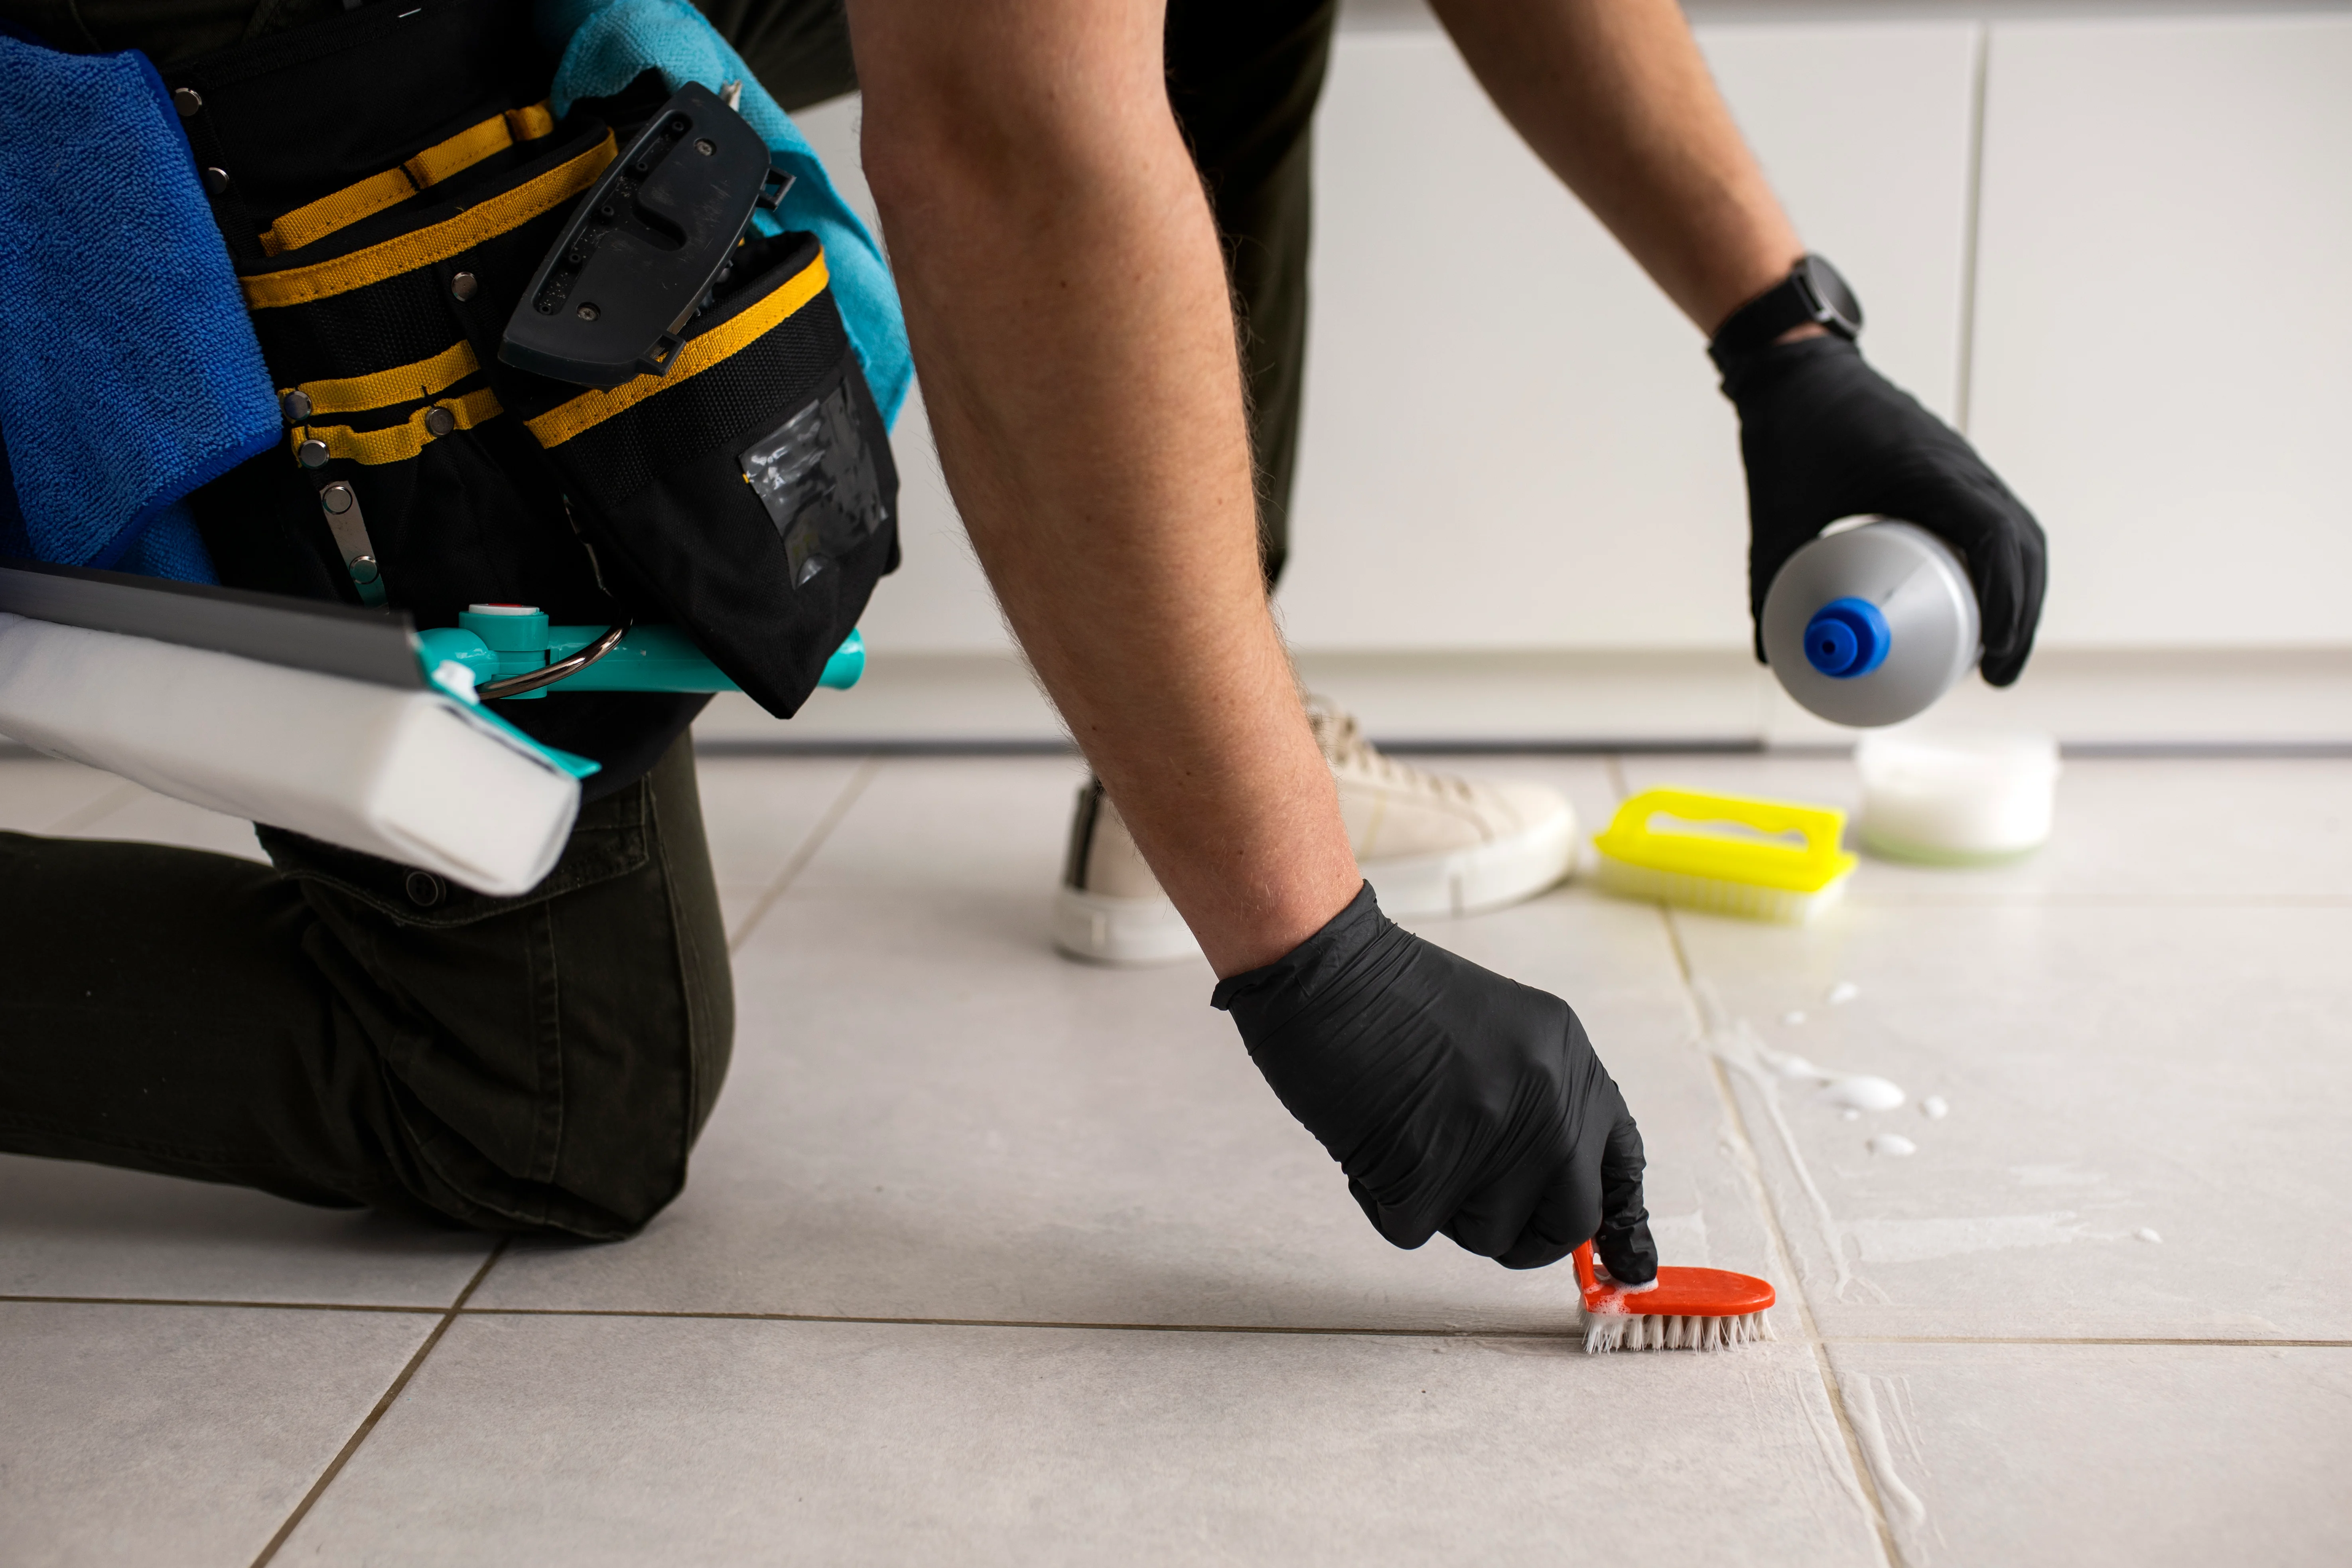
7 Best Ways to Clean Grout If You Don't Have a Grout Cleaner
This guide will show you seven simple ways on how to clean grout using everyday items found around your home.
7 Best Ways to Clean Grout If You Don't Have a Grout Cleaner
Cleaning grout can be a headache, especially when you're out of grout cleaners. If you're tired of dealing with dirty grout lines and want cost-effective alternatives, you're in the right place.
This guide will show you seven simple ways on how to clean grout using everyday items found around your home.
Types of Grout
Before you roll up your sleeves and start cleaning, you must discern the type of grout you have on your tiles. Some grout types might need particular cleaning methods for optimal results. Let's break down the characteristics of each variety to empower you with the knowledge needed to make informed cleaning decisions.
1. Sanded Grout
Sanded grout is popular for wider joints and is typically found in high-traffic areas. Including sand enhances its resistance to shrinkage and cracking, making it durable for demanding environments.
2. Unsanded Grout
Designed for narrower joints, unsanded grout offers a smoother finish and is commonly used on delicate surfaces where a coarser texture may be undesirable. It's an excellent choice for bathroom tiles or backsplashes with tighter spacing.
3. Epoxy Grout
Known for its exceptional durability, epoxy grout is resistant to stains and water, making it a preferred option for areas prone to spills and moisture. However, this tile grout requires meticulous mixing and application due to its unique composition.
If you're unsure about the type of grout you have, it's always a good idea to seek help from a professional who can check it for you. They can suggest appropriate alternatives or DIY methods that you can use to clean it. Now that you are familiar with the different types of grout, let's explore some simple and effective ways to clean them.
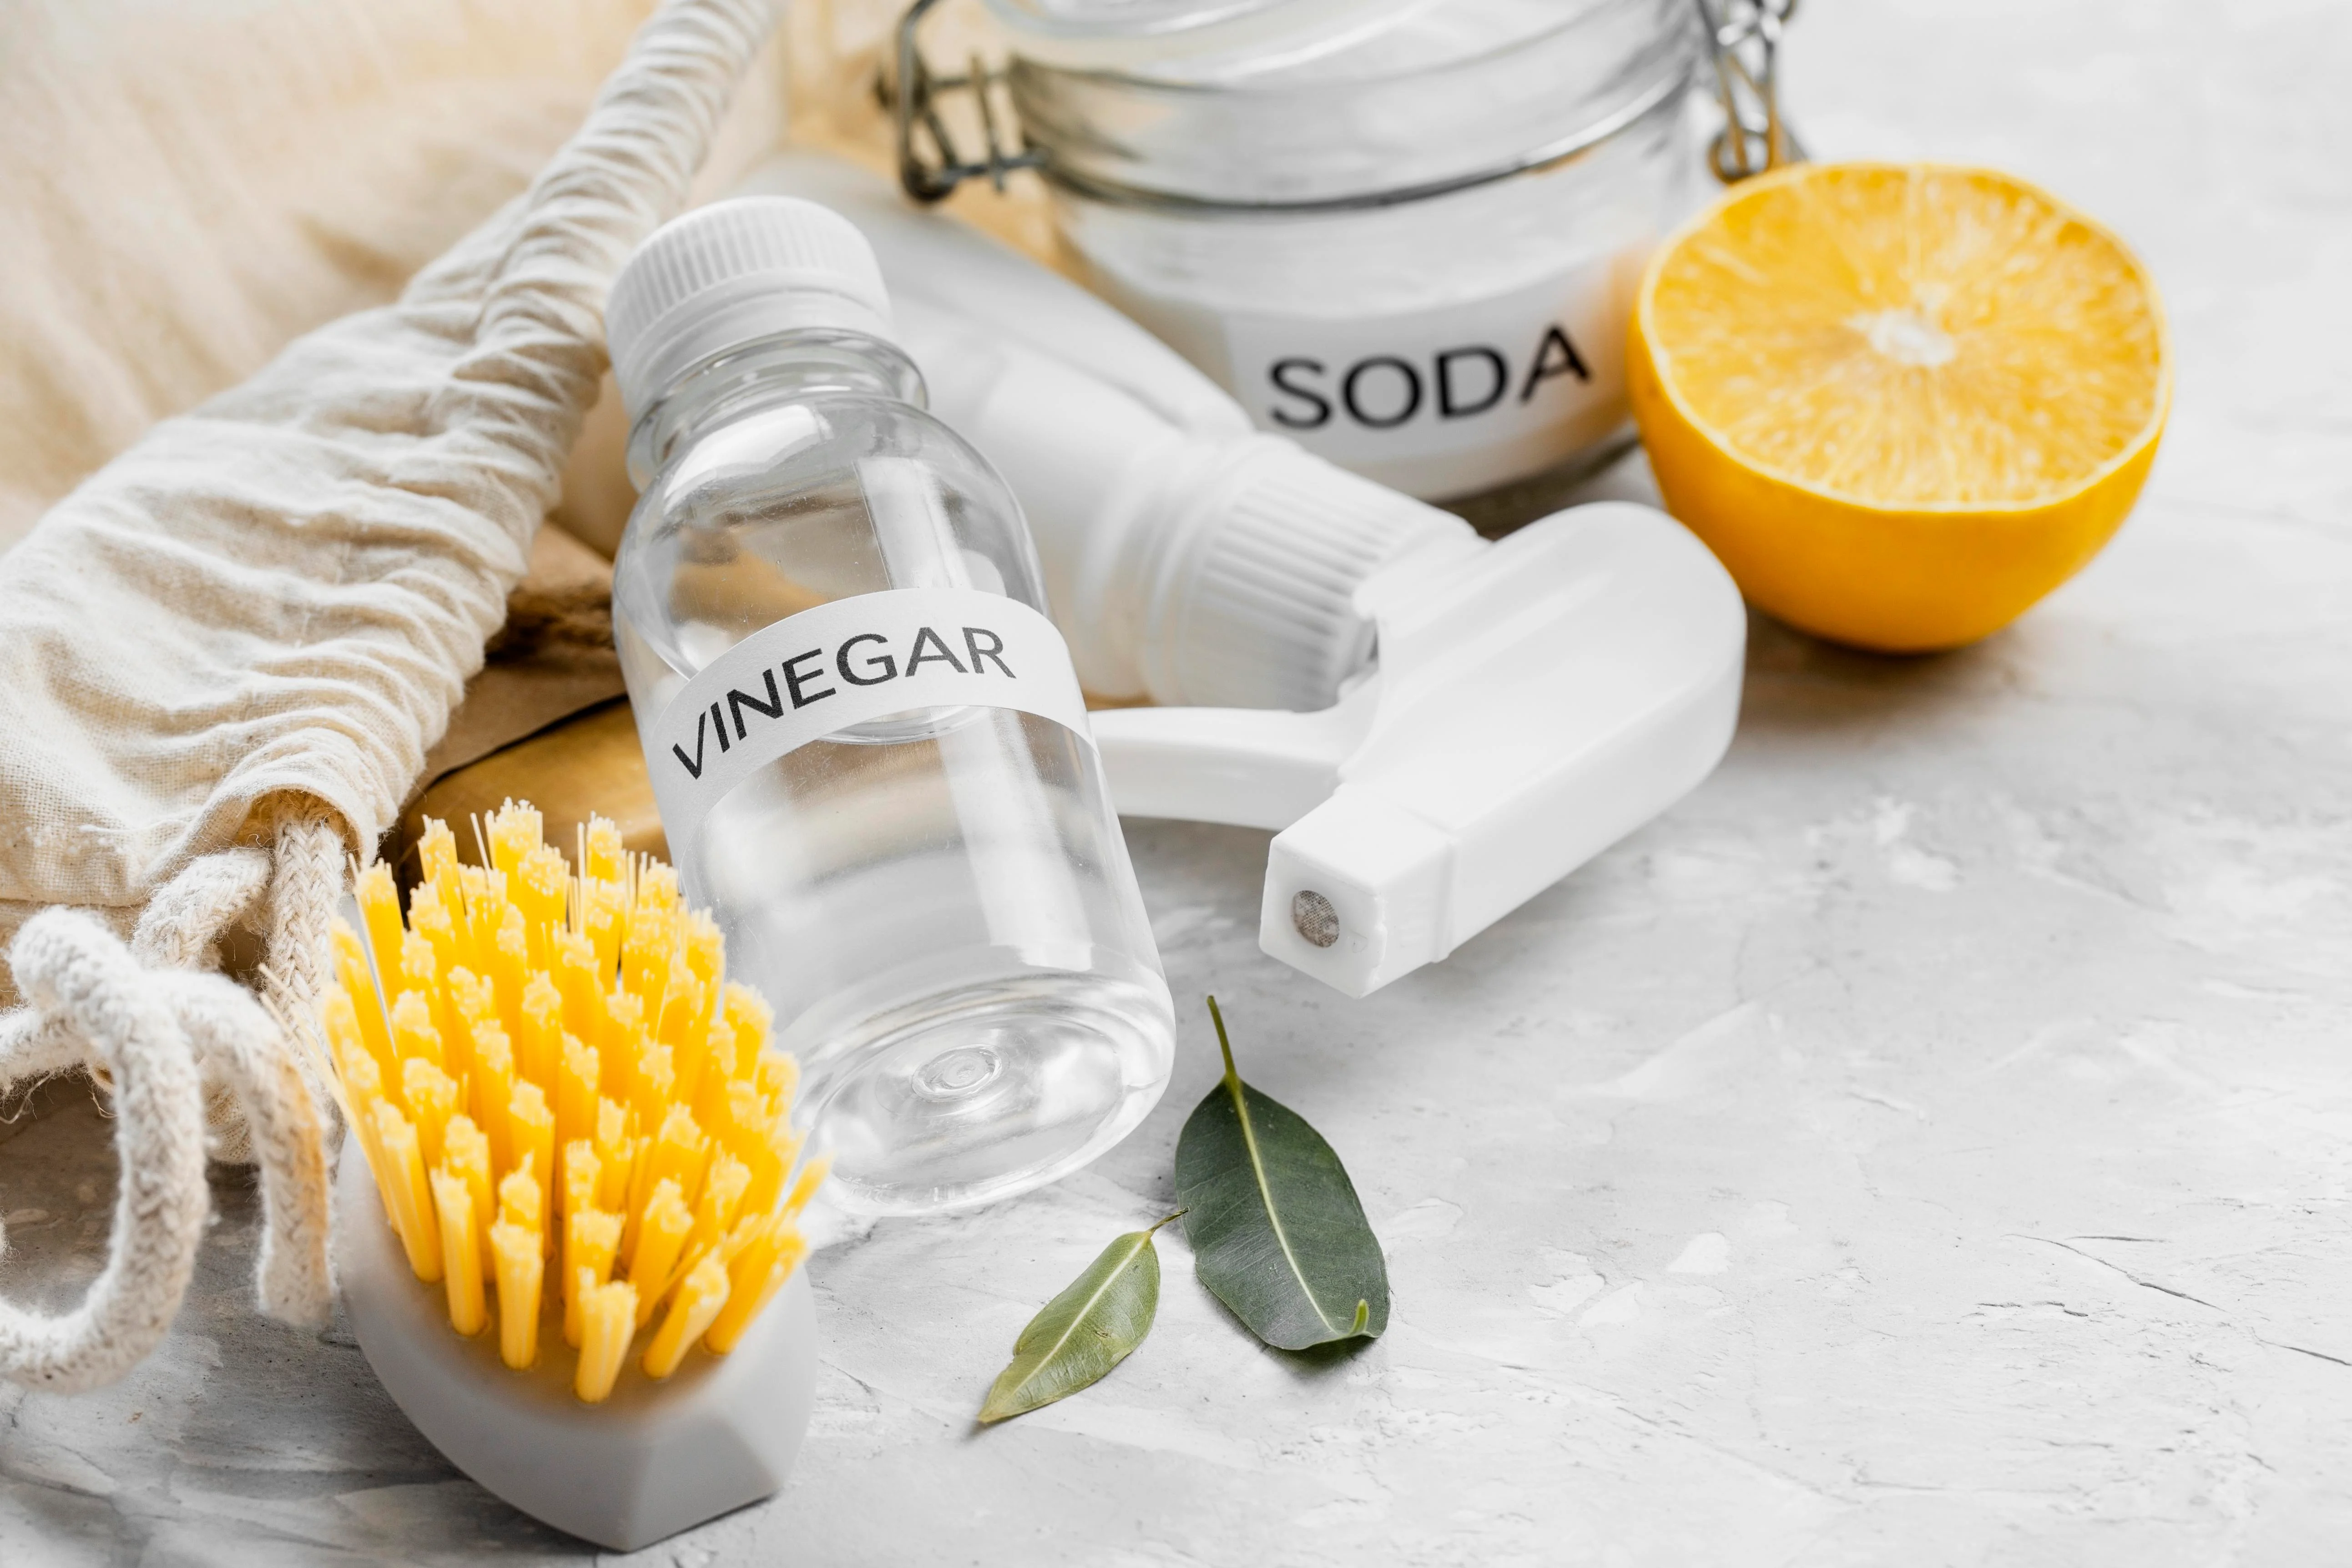
1. Vinegar
Vinegar is a common kitchen staple in your pantry, usually used for dressing salads or pickling cucumbers. But its acidity can be quite useful for grout cleaning.
Things You Need:
White vinegar
Water
Old toothbrush or a grout brush
Microfiber cloth or sponge
Steps To Do:
1. Mixing the Solution - Dilute equal parts of water and white vinegar in a bowl or a spray bottle. Stir well.
2. Prep the Grout - Sweep or vacuum the area to remove loose dirt and debris.
3. Apply the Solution - Spray or pour the vinegar mixture directly onto the grout lines.
4. Scrub Thoroughly - Use an old toothbrush or a grout brush to scrub the grout vigorously. Focus on stained or discolored areas.
5. Let It Sit - Allow the vinegar solution to sit for 5-10 minutes. This gives it time to break down the grime.
6. Wipe it Down - Use a microfiber cloth or sponge to wipe away the vinegar solution and lift the grime.
7. Rinse - Rinse the area with clean water to remove any leftover vinegar residue.
Some Tips
1. For stubborn grout stains, mix baking soda with vinegar to create a paste. Apply, scrub, and watch the magic happen.
2. Open windows or turn on ventilation during cleaning to avoid the strong vinegar smell.
3. Regular maintenance is key. A quick vinegar treatment every few weeks keeps grout looking fresh.
2. Borax
Borax is a versatile powder often used for your laundry but is also handy to make a homemade grout cleaner.
Things You Need:
Borax
Warm water
Old toothbrush or a grout brush
Bucket
Microfiber cloth or sponge
Steps To Do:
1. Create a Borax Paste - Mix 1/2 cup of Borax with enough warm water to form a thick paste as a grout cleaner.
2. Prep the Grout - Remove loose dirt and debris long the grout line with a sweep or vacuum.
3. Apply the Borax Paste - Spread the Borax paste directly onto the grout using an old toothbrush or a grout brush.
4. Scrub Away - Use the brush to scrub the grout vigorously, paying extra attention to stubborn stains.
5. Let It Soak - Allow the Borax paste to sit for 15-20 minutes. This gives it time to penetrate and lift the dirt.
6. Rinse with Water - Dip a microfiber cloth or sponge in water and wipe away the Borax residue.
7. Final Rinse - Rinse the area with clean water to ensure no remaining grout cleaner is left behind.
Some Tips
1. Boost the cleaning power by mixing Borax with lemon juice or vinegar for a citrusy kick.
2. Test a small, inconspicuous area first to ensure Borax won't damage your tiles.
3. Keep the area well-ventilated during cleaning to avoid inhaling Borax dust.
4. Apply a grout sealer after cleaning the tile grout to ensure that it remains clean.
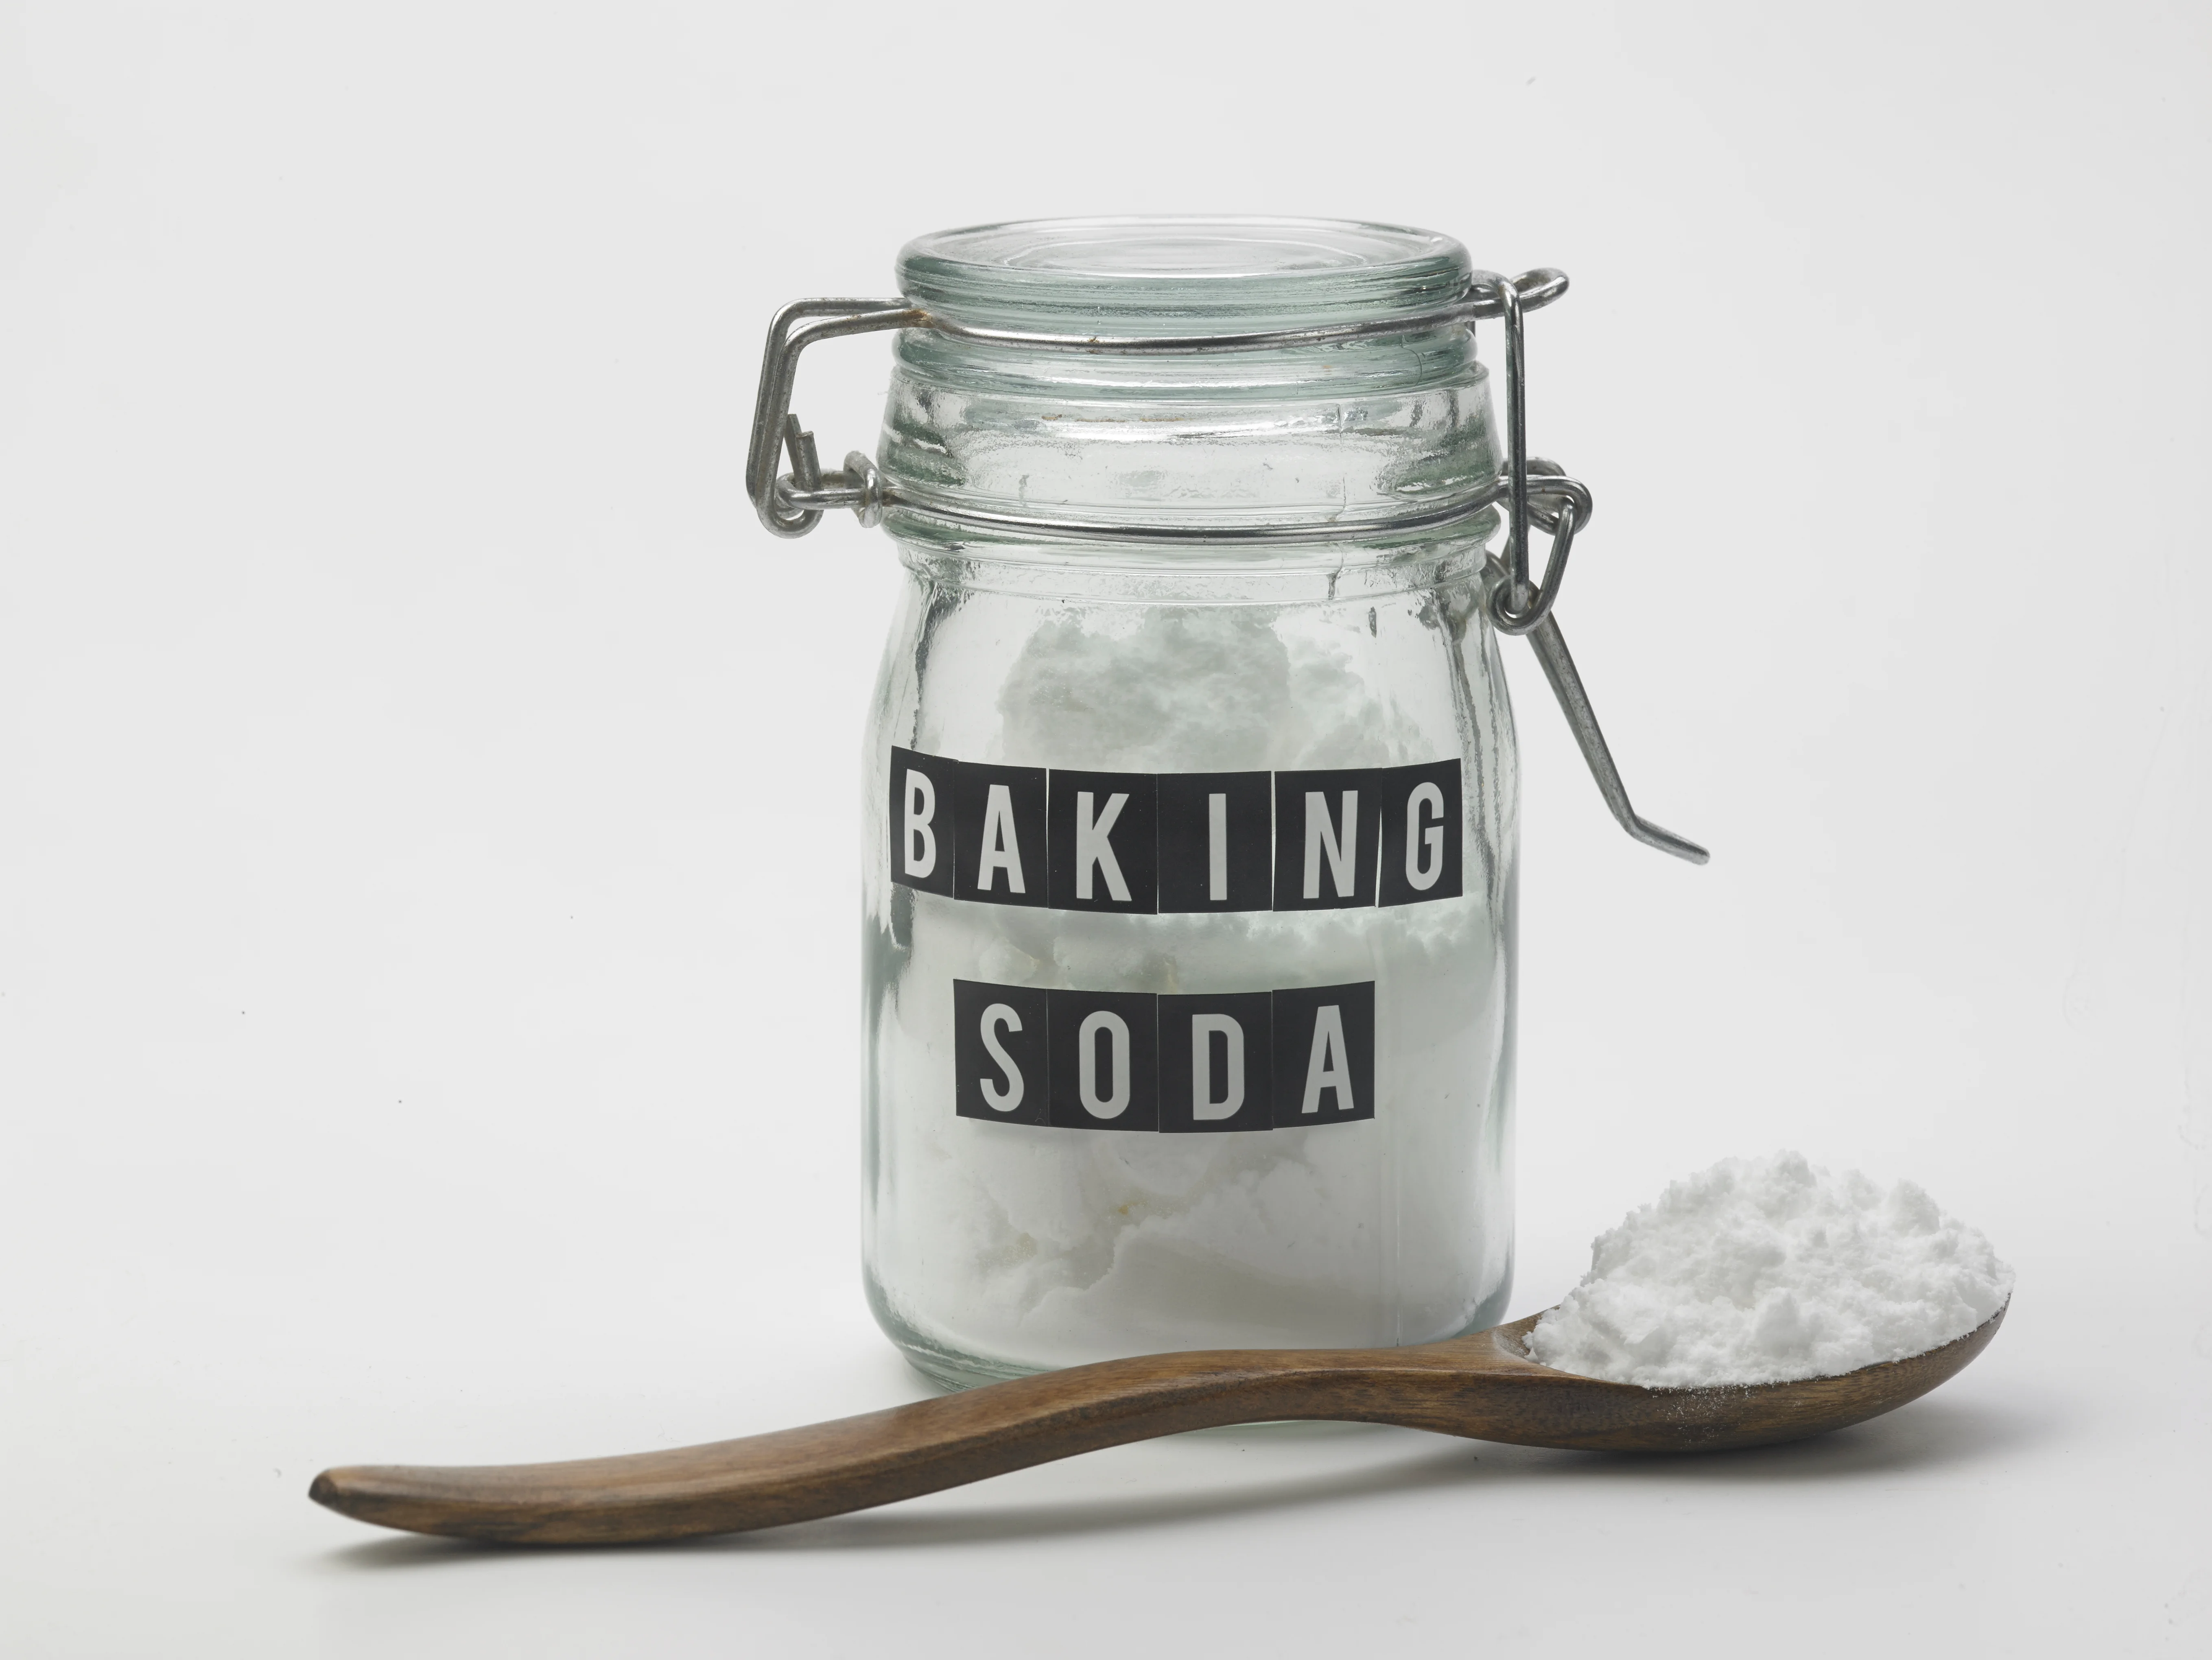
3. Hydrogen Peroxide and Baking Soda
Hydrogen peroxide is commonly used to clean wounds and baking soda may be found in your kitchen pantry. When mixed together, they can provide a great solution for cleaning tile grout.
Things You Need:
Hydrogen Peroxide
Baking Soda
Old toothbrush or a grout brush
Bowl
Microfiber cloth or sponge
Steps To Do:
1. Make a Paste - Combine equal parts Hydrogen Peroxide and Baking Soda in a bowl to create a thick paste.
2. Prep the Grout - Remove loose debris and dirt by sweeping or vacuuming the area.
3. Apply the Paste - Using an old toothbrush or grout brush, spread the paste onto the grout lines.
4. Scrubbing Time - Scrub the grout vigorously, focusing on stained areas. The bubbling reaction signals the cleaning process at work.
5. Let It Sit - Allow the paste to sit for 10-15 minutes, allowing the Hydrogen Peroxide and Baking Soda combo to penetrate and lift grime.
6. Scrub Again - Give it another scrub to maximize the cleaning effect.
7. Wipe Away - Use a microfiber cloth or sponge to wipe away the paste and lifted dirt.
8. Final Rinse - Rinse the area with water to remove any remaining residue.
Some Tips
1. Increase the paste's cleaning power by adding a few drops of dish soap.
2. Test the mixture in a small, inconspicuous area before widespread application.
3. Ventilate the space during cleaning to disperse any lingering fumes.
4. Apply a grout sealer after cleaning the tile grout to ensure that it remains clean.
4. Oxygenated Bleach (OxiClean)
Oxygenated bleach like Oxiclean that's not just for laundry but can also be your go-to solution for stained grout.
Things You Need:
OxiClean (oxygenated bleach)
Warm water
Bucket
Old toothbrush or a grout brush
Microfiber cloth or sponge
Steps To Do:
1. Mix the Solution - Follow the instructions on the OxiClean package to create a cleaning solution. Typically, it involves dissolving the powder in warm water.
2. Prep the Grout - Remove loose debris and dirt by sweeping or vacuuming the area.
3. Apply the Solution - Pour or spray the OxiClean solution directly onto the grout lines.
4. Brush Away - Use an old toothbrush or grout brush to scrub the grout thoroughly. Ensure you reach every nook and cranny.
5. Let It Soak - Allow the OxiClean solution to sit for 10-15 minutes. This gives it time to penetrate and break down stubborn stains.
6. Scrub Again - Give it another round of scrubbing to maximize the cleaning effect.
7. Wipe Clean - Use a microfiber cloth or sponge to wipe away the OxiClean solution and lifted grime.
8. Final Rinse - Rinse the area with clean water to remove any leftover OxiClean residue.
Some Tips
1. Increase OxiClean's potency by using hot water for the solution, following the recommended proportions.
2. For heavy stains, make a paste using OxiClean and water. Apply, scrub, and let it sit before rinsing.
3. Always wear gloves and work in a well-ventilated area when using OxiClean.
5. Steam Cleaning
Steam cleaning, a modern and efficient method that uses heated vapor to blast away grime, can be used to make grout look brand new.
Things You Need:
Steam Cleaner
Brush
Steps To Do:
1. Get Your Steam Cleaner Ready - Ensure your steam cleaner is filled with water and heated according to the manufacturer's instructions.
2. Prep the Grout Area - Remove loose debris and dirt from the grout lines by sweeping or vacuuming.
3. Adjust Steam Settings - Most steam cleaners have adjustable settings. Choose a setting suitable for your grout and tile type.
4. Start Steaming - Direct the steam nozzle onto the grout lines, holding it close for optimal cleaning power.
5. Steam and Scrub - Move the steam cleaner slowly along the grout lines, simultaneously scrubbing with the attached brush or nozzle.
6. Pay Attention to Stubborn Stains - Hold the steam on the spot for a few extra seconds for tougher stains and use a brush for added agitation.
7. Wipe Away Residue - Have a microfiber cloth or sponge handy to wipe away the loosened dirt and moisture.
8. Final Rinse - For a finishing touch, rinse the area with clean water to remove any remaining residue.
Some Tips
1. Check your steam cleaner's compatibility with your specific tile and grout type before use.
2. Work in small sections of the tile floor to ensure thorough cleaning and prevent the grime from resettling.
3. Open windows or use ventilation during steam cleaning to allow moisture to dissipate.
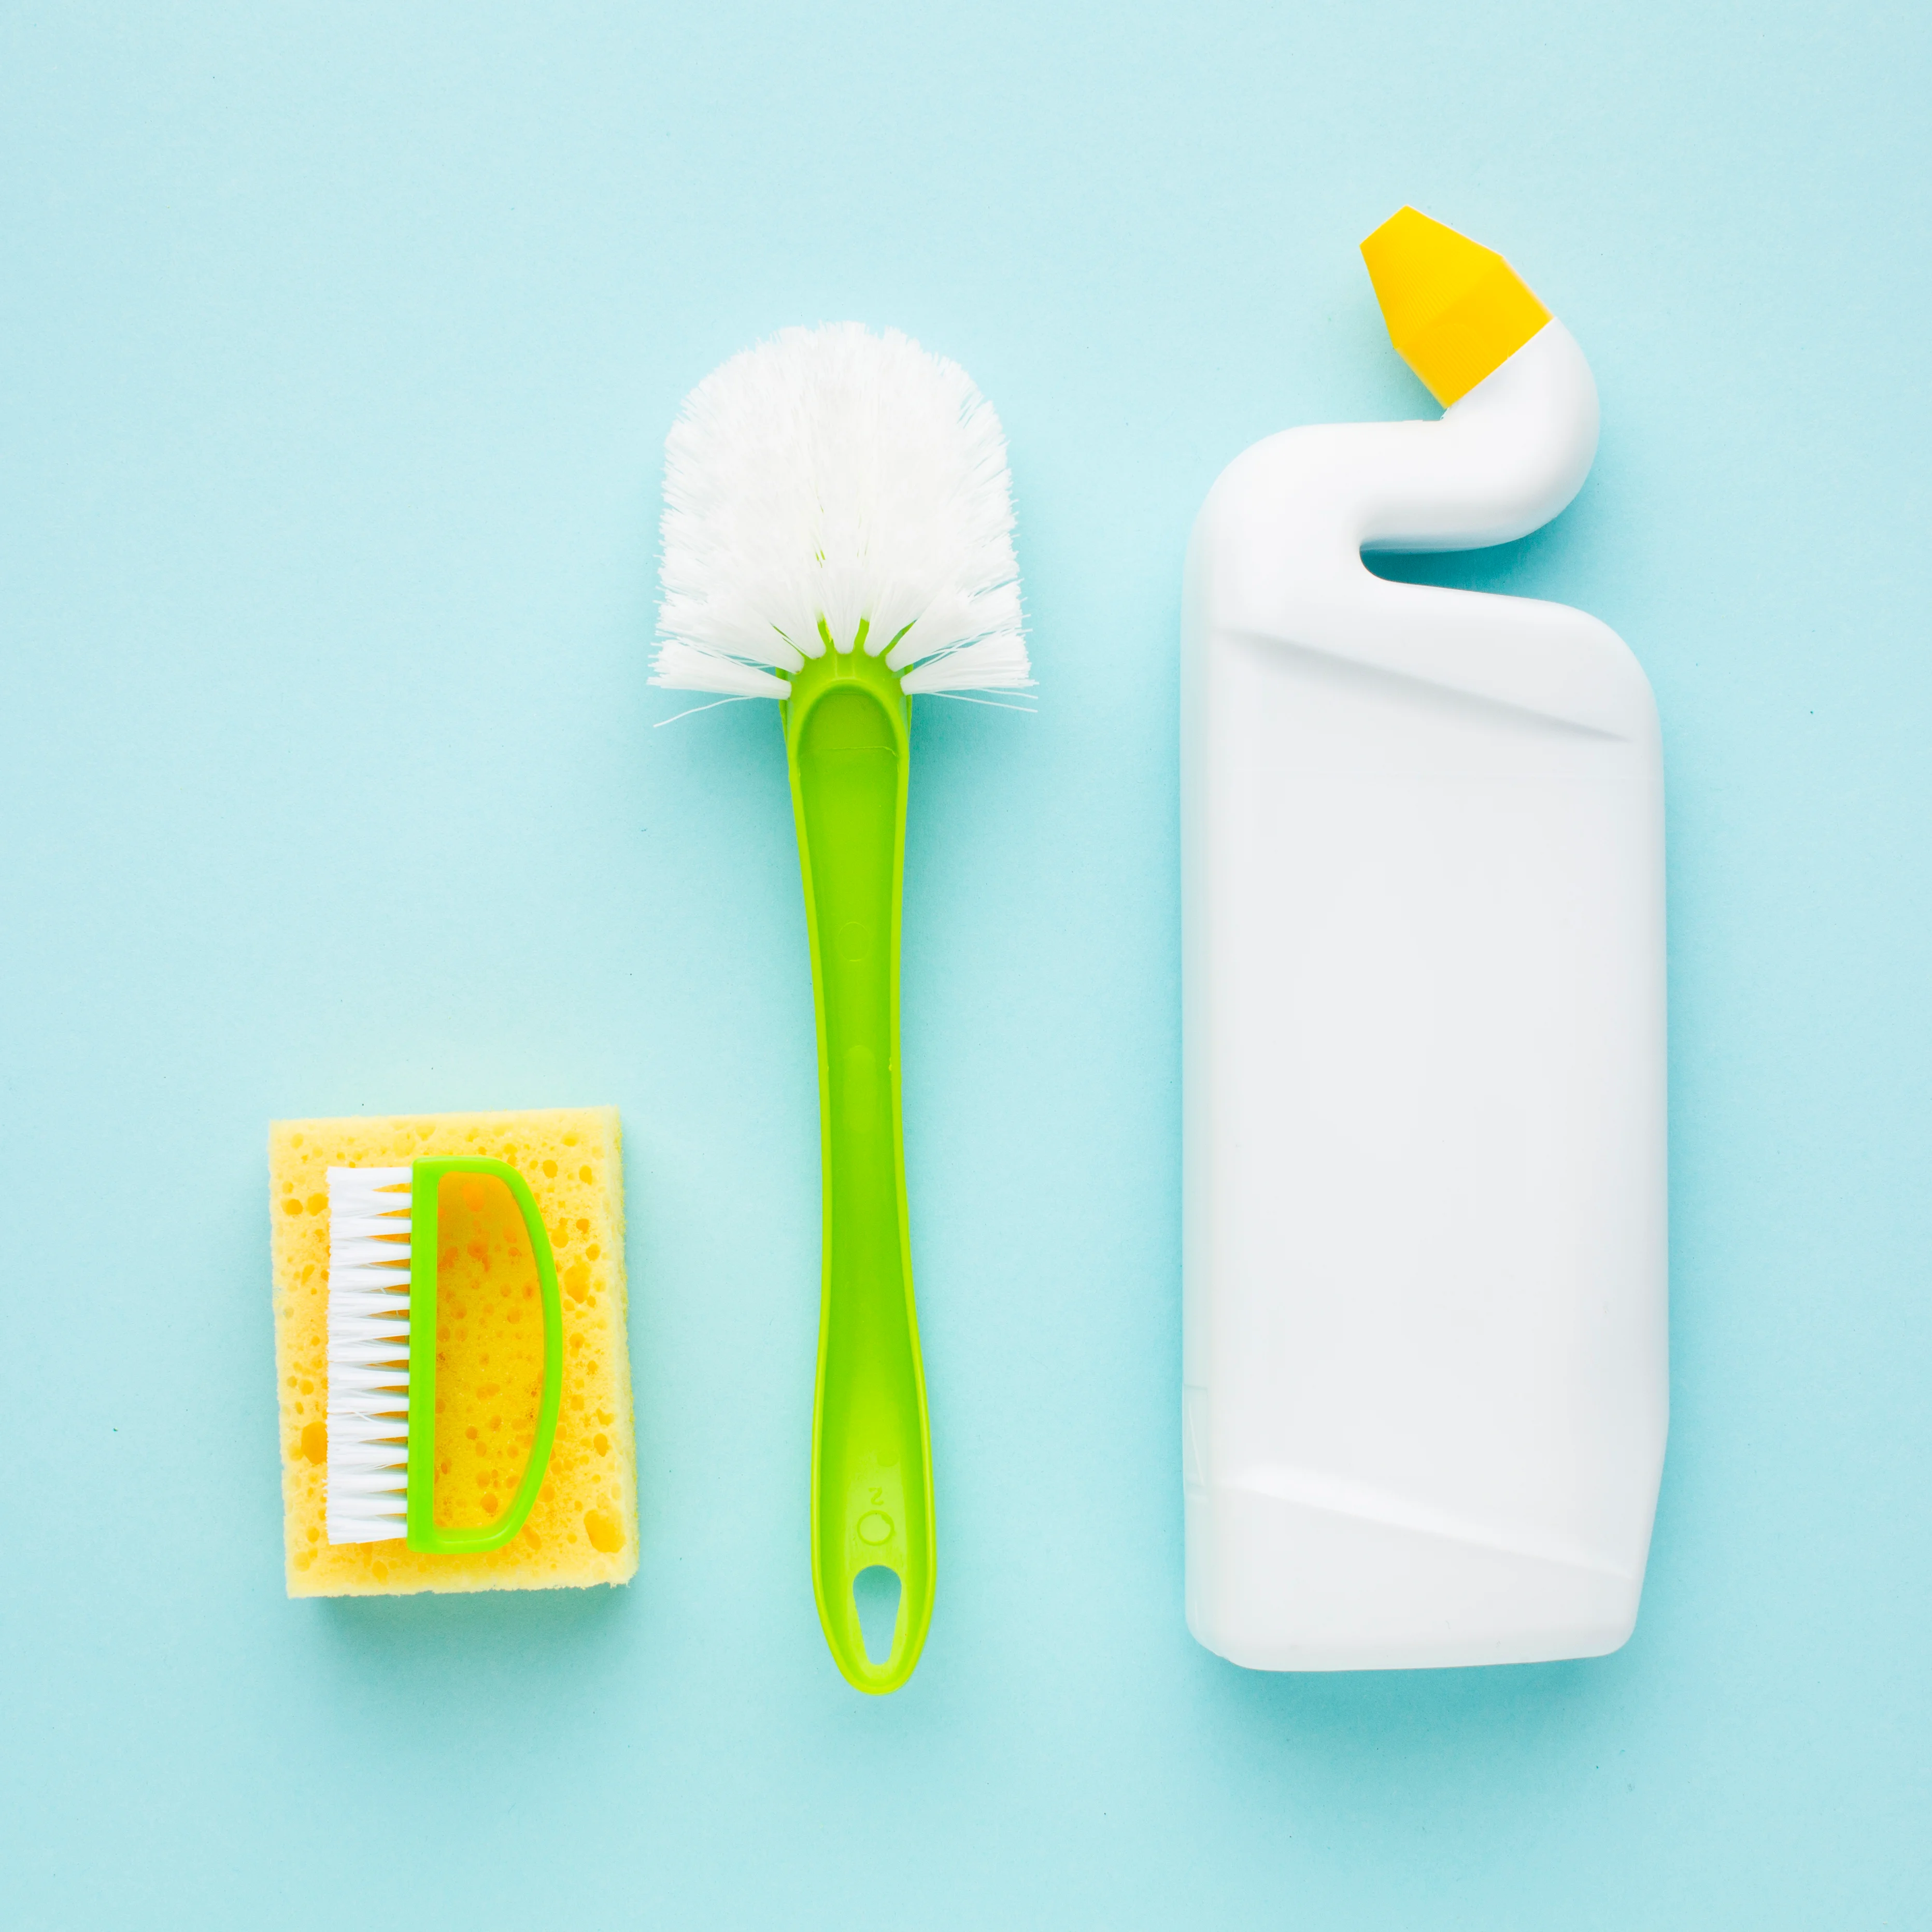
6. Bleach Toilet Bowl Cleaner
Toilet bowl cleaner is a much more obvious choice for cleaning grout, as it does the same in cleaning tiles as it does in toilet bowls.
Things You Need:
Bleach Toilet Bowl Cleaner
Brush
Steps To Do:
1. Choose a Suitable Bleach Toilet Bowl Cleaner- Opt for a thick gel or clinging bleach toilet bowl cleaner for better adherence to vertical surfaces.
2. Ventilate the Area - Ensure proper ventilation by opening windows or turning on a fan to disperse fumes.
3. Prep the Grout Area - Remove loose dirt and debris from the grout lines by sweeping or vacuuming.
4. Apply the Bleach Toilet Bowl Cleaner - Squeeze the cleaner along the grout lines, covering the stained areas thoroughly.
5. Let It Sit - Allow the bleach cleaner to sit for 5-10 minutes. This gives it time to penetrate and break down stains.
6. Scrub with a Brush - Use an old toothbrush or a grout brush to scrub the grout lines vigorously. Focus on areas with stubborn stains.
7. Rinse with Water - Rinse the grout with clean water to remove the bleach cleaner and lifted grime.
8. Final Rinse - Ensure thorough rinsing to eliminate any bleach residue.
Some Tips
1. Test a small, inconspicuous area first to ensure compatibility with your tiles.
2. Wear gloves and protective eyewear while working with bleach cleaners.
3. Consider diluting the bleach cleaner with water for milder stains or delicate surfaces.
7. Muriatic Acid
Muriatic acid is a powerful cleaning agent that can effectively remove rust and molds and can also be used to remove grout, especially the more stubborn ones.
Things You Need:
Protective gear (gloves, goggles, mask, etc.)
Muriatic acid
Brush
Baking Soda
Steps To Do:
1. Safety First - Put on protective gear, including gloves, goggles, and a mask, to shield yourself from the corrosive nature of muriatic acid.
2. Ventilate the Area - Ensure proper ventilation by opening windows or using fans to dissipate fumes.
3. Dilute the Muriatic Acid
Mix one part of Muriatic Acid with ten parts of water in a plastic container. Always add acid to water, never the other way around.
4. Prep the Grout Area - Remove loose dirt and debris from the grout lines by sweeping or vacuuming.
5. Apply the Diluted Muriatic Acid - Wearing protective gear, use a brush or sponge to apply the diluted Muriatic Acid to the grout lines.
6. Let It Sit - Allow the solution to sit for a short duration, typically 5-10 minutes. Monitor the grout closely during this time.
7. Scrub Gently - Use a nylon brush to scrub the grout gently. Avoid abrasive brushes to prevent damage.
8. Neutralize with Baking Soda - Sprinkle baking soda over the treated grout to neutralize the acid. This also aids in cleaning.
9. Rinse Thoroughly - Rinse the grout area thoroughly with water to remove any remaining acid or residue. You can use a wet rag as well.
Some Tips
1. Work in small sections to ensure precise application and timely neutralization.
2. Keep a box of baking soda nearby to tackle any accidental spills promptly.
3. Conduct a patch test in an inconspicuous area to gauge the impact on your specific tiles.
4. Apply a grout sealer after cleaning the tile grout to ensure that it remains clean as strong solutions like muriatic acid can erode grout overtime.
Let Professionals Do Post-Construction Cleanup For You!
If you need help turning your projects and workspace into a place of excellence that reflects your vision, let us know how APBS can help you. We specialize in top-notch post-construction cleanup and maintenance and are dedicated to empowering your success.
You can also check our resource page to learn more about how we turn your workspaces into something you can be proud of.
Corporate Office
A Production Building Solutions Corporate Office 333 Jackson Plaza, Ann Arbor, Michigan 48103 A Production Building Solutions service areas include Ingham, Lenawee, Livingston, Monroe, Macomb, Livingston, Oakland, Wayne, and Washtenaw Counties, among others, and include the westside of Michigan and Traverse City.